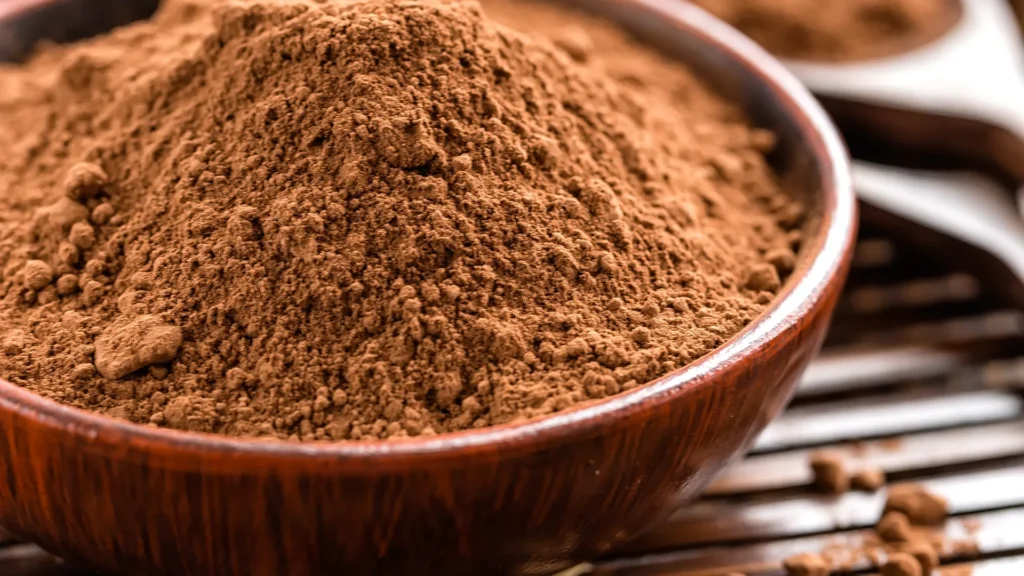

Use the cocoa named in the recipe. Natural and Dutch-process cocoa can both make good chocolate desserts, but choosing between them is more than a color preference. In a cake or cookie, the cocoa may be part of the chemistry that makes the batter rise.
If the container in your cupboard doesn’t match the ingredient list, pause before changing anything else. Read the label, check the recipe’s notes, and decide whether this is a sensible substitution or a better reason to choose a different recipe.
What Dutch processing changes
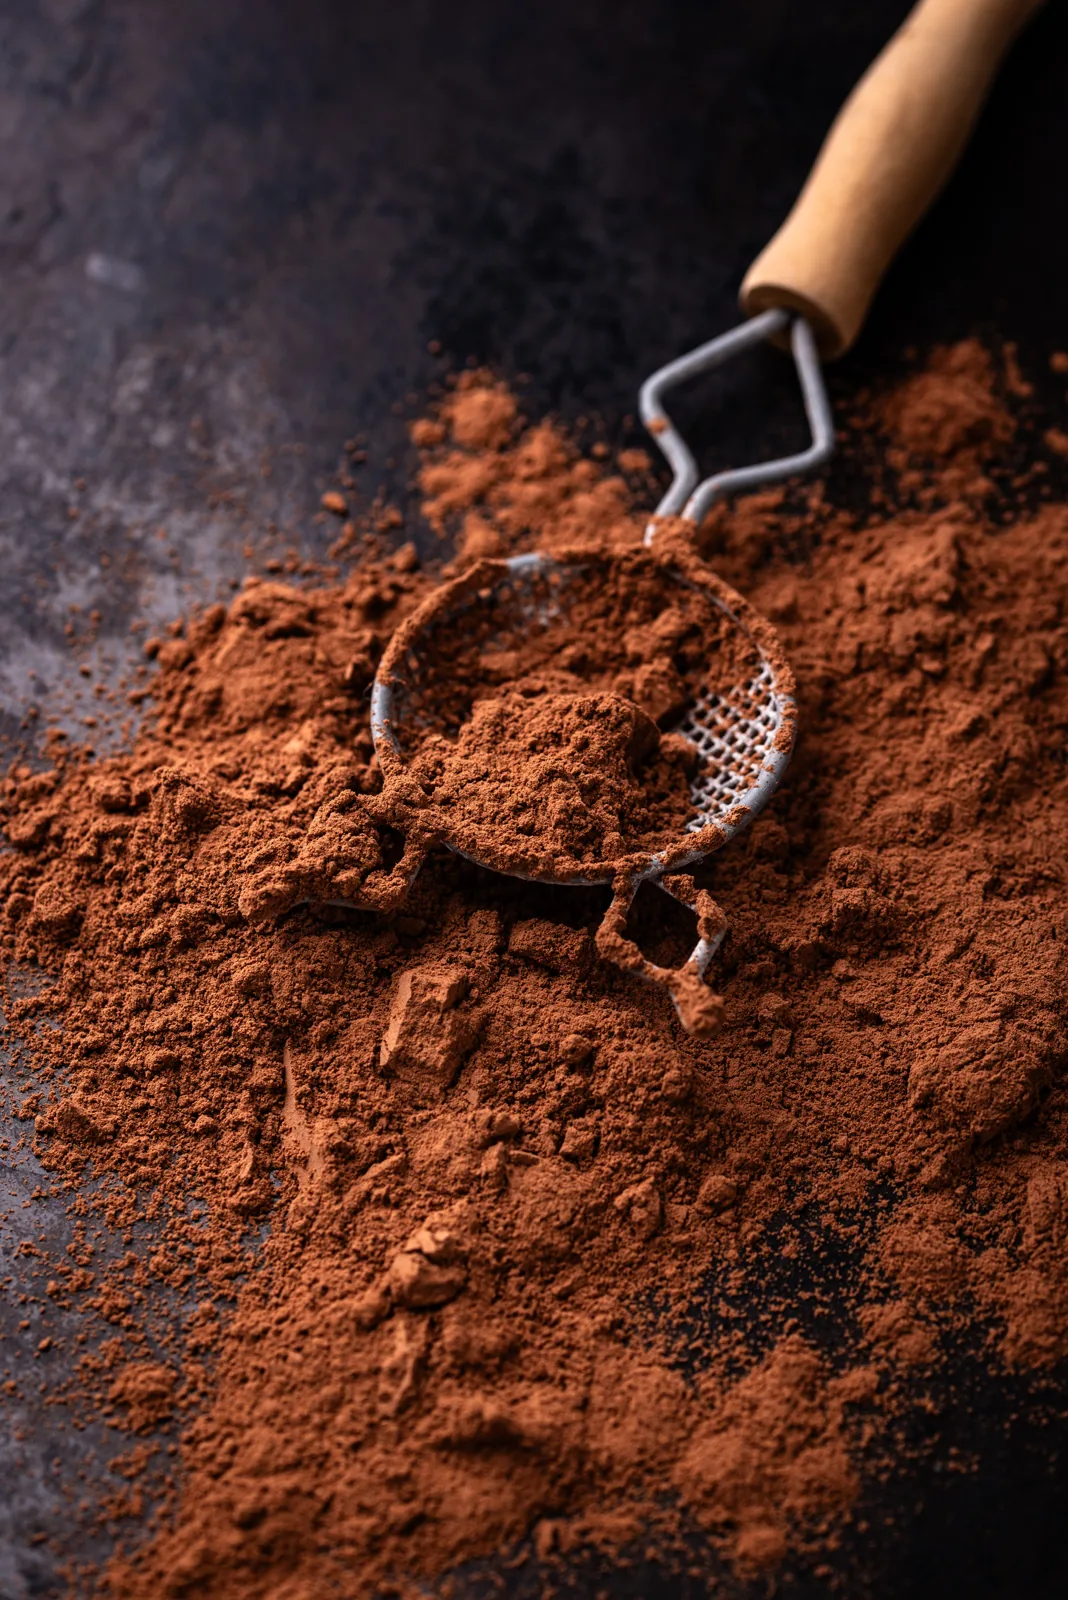
Natural cocoa retains the bean’s acidity. Dutch-process cocoa is treated with an alkalizing agent to reduce that acidity, which also changes its color and flavor. Alice Medrich’s guide to cocoa types for King Arthur Baking explains why powders can differ even when both containers say unsweetened.
The useful distinction is how the powder was processed. A package that says cocoa processed with alkali is identifying Dutch processing. Unsweetened tells you about sugar, not whether the cocoa is natural or alkalized. Don’t use a sweetened hot cocoa mix as a direct replacement for unsweetened baking cocoa.
Color alone isn’t enough to identify an unlabeled powder. Lighting, brands, and blends complicate the comparison. Keep the original package or copy the product name and ingredient information onto a pantry label before decanting it.
Check the recipe before you check the pantry
| What the recipe tells you | A practical next step |
|---|---|
| It names natural cocoa | Use natural, or follow a substitution the author has tested. |
| It names Dutch-process cocoa | Use Dutch-process, or look for the author’s alternate version. |
| It explicitly allows either | Choose within that guidance, knowing color and flavor can change. |
| It just says cocoa | Check the introduction, notes, and author responses before guessing. |
| It calls for a cocoa blend | Record the actual blend rather than assuming all blends behave alike. |
Baking soda and baking powder are clues, but they don’t tell the whole story. Natural cocoa’s acidity can help react with baking soda. Dutch-process cocoa contributes less acidity. Other ingredients matter, too, so seeing baking soda in the list doesn’t give you a complete substitution formula. King Arthur’s natural versus Dutch-process substitution guide discusses those tradeoffs.
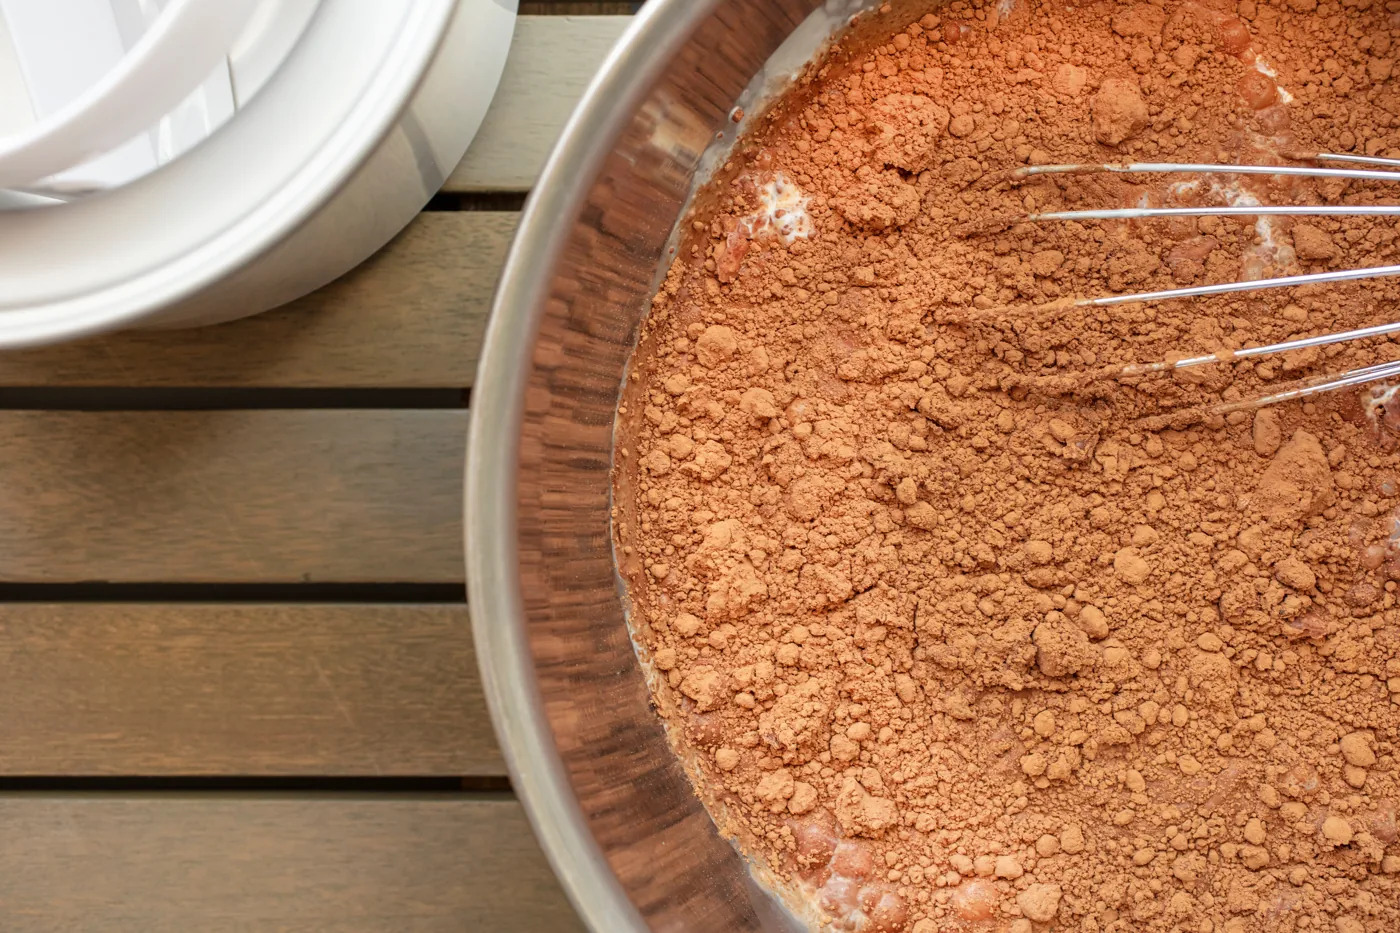
For a familiar recipe that already works, change one thing at a time. Swapping the cocoa, the leavener, and the milk together makes the next result hard to interpret. A darker cake wouldn’t tell you which change affected the crumb.
Frosting gives you a different decision
A frosting without chemical leavening doesn’t depend on the same rise reaction. Flavor and appearance can become the more useful reasons to choose a cocoa. That still doesn’t mean every frosting will taste identical after a swap.
For a concrete example, King Arthur’s chocolate frosting discussion describes using natural cocoa and explains that Dutch-process can work in that particular frosting with a different flavor result. Keep that permission attached to that recipe, rather than treating it as a promise for every chocolate dessert.
This is also a useful boundary when choosing between cocoa powder and a chocolate bar. If a recipe calls for one, don’t replace it with the same weight of the other. Start with a formula designed for the ingredient you want to use. For a drink based on real chocolate, see the ingredient list in our French chocolat chaud recipe.
Black cocoa isn’t simply a stronger setting
Black cocoa has undergone more intensive alkalizing and has a distinct flavor. It can be useful when a recipe is developed for that dark appearance, but a nearly black powder isn’t evidence that it will deliver the chocolate flavor you prefer.
Treat it as another specific ingredient. If a recipe uses a blend, preserve that blend until you have a reason to change it. Trying to reach a color target by replacing all the cocoa can turn an appearance adjustment into a recipe redesign.
Keep a note you’ll actually use next time
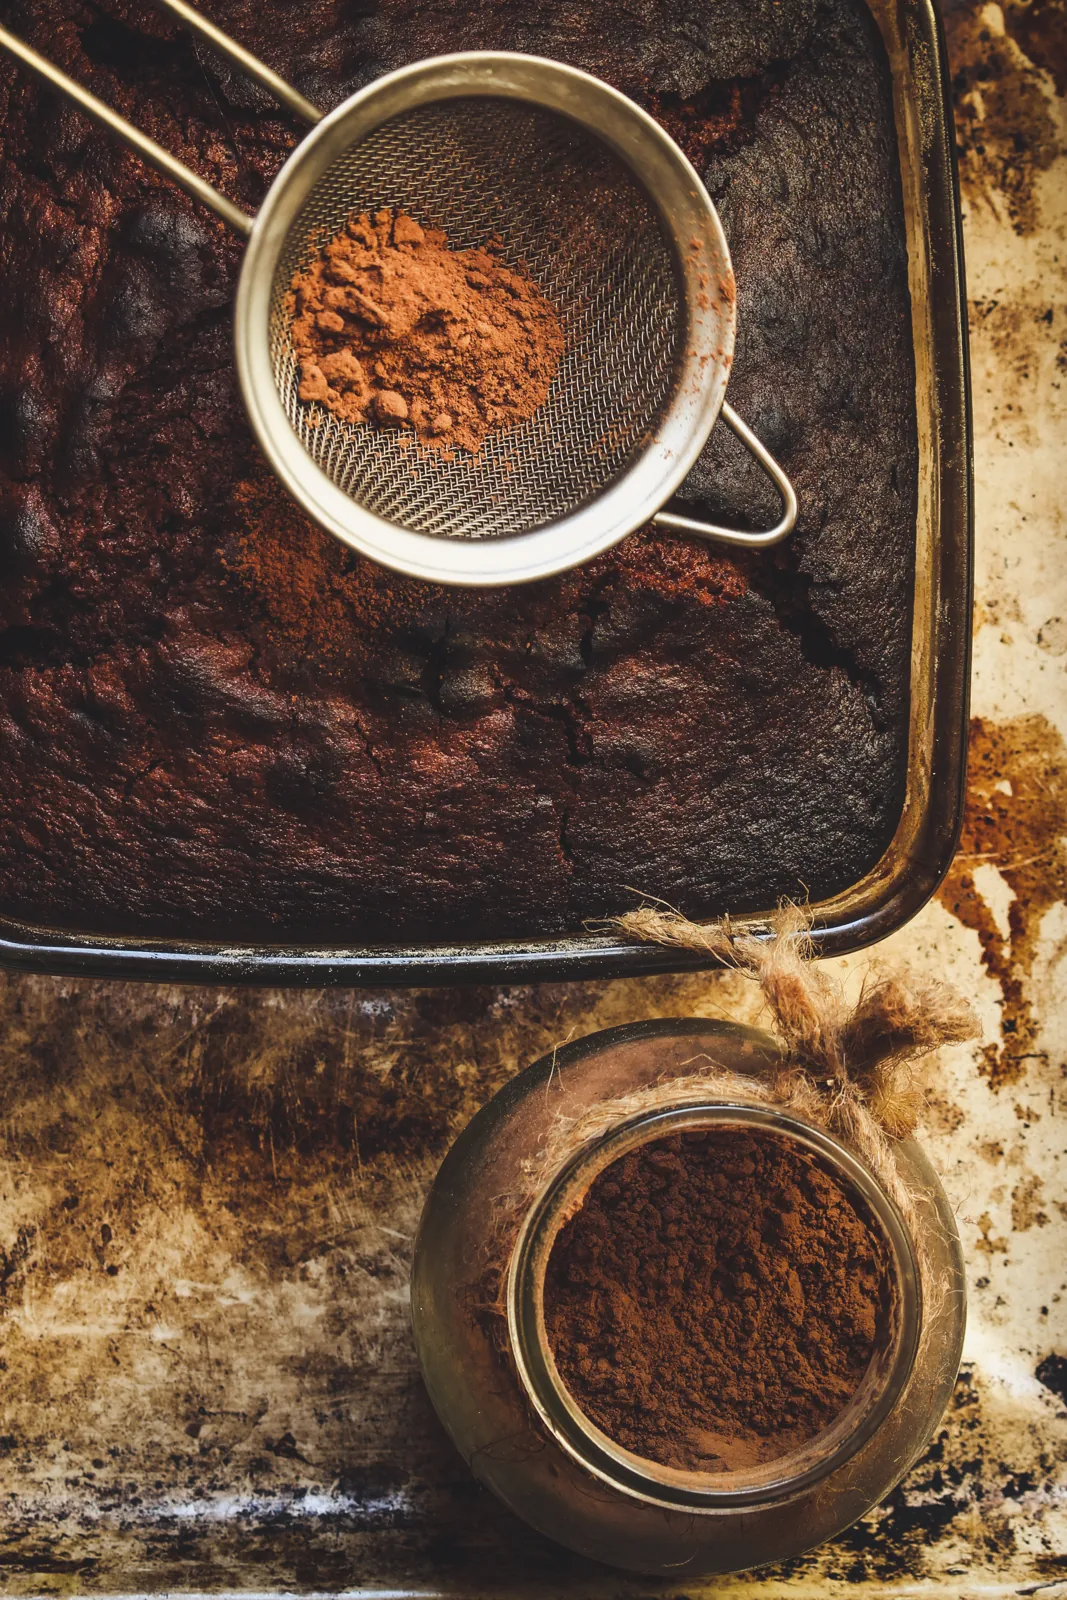
You don’t need a long tasting form. Write down the recipe link, cocoa product and type, amount used, and whether you changed anything else. After baking, add a few observations about the finished dessert: how the center set, how it sliced, and whether the flavor suited the job.
Keep observations separate from explanations. “The center was dense” records what happened. “Dutch cocoa caused the dense center” needs a comparison that rules out other changes. If the result misses, that distinction gives you a more useful next attempt.
For a first bake, the best cocoa is the one the recipe was built around. Once that version works, you have a clearer starting point for a comparison.
Sources and editorial note
This is a researched ingredient guide, not a report of a Replicate Kitchen baking test. Sources were checked October 21, 2026. Photographs illustrate ingredients and preparation; they don’t show a side-by-side test of cocoa types.