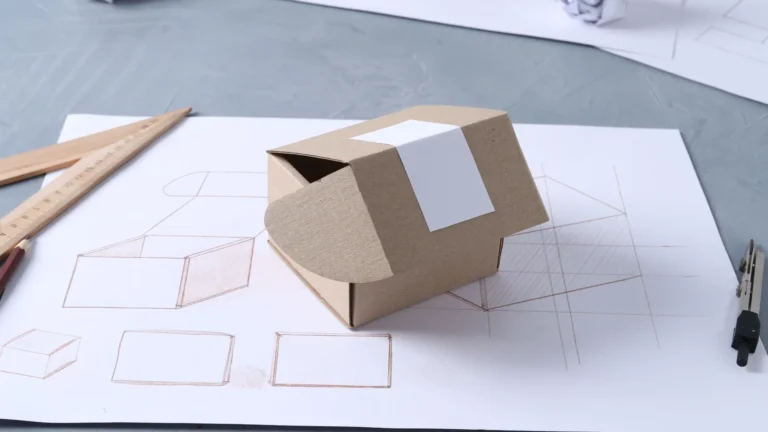


A cut list describes the pieces you intend to make. A shopping list describes what you need to obtain. Keep both, because counting five finished parts doesn’t tell you how much stock to buy, which supplies are already in the shop, or which version of the drawing those parts belong to.
The distinction is easy to see in a small project. Consider an open tray with a bottom, two long sides, and two short sides. The example below is a planning illustration, not a set of build plans.
Count the parts in the finished object
Give each distinct part a name or identifier that also appears on the drawing. For the hypothetical tray, the first pass might look like this:
| Part | Quantity | Details still needed from the drawing |
|---|---|---|
| Bottom | 1 | Finished dimensions, material, thickness, and any edge or joint details. |
| Long side | 2 | Finished dimensions and whether the pieces are identical. |
| Short side | 2 | Finished dimensions and how they meet the other parts. |
That is five pieces. It is not five boards, and it isn’t yet a complete cut list. The dimensions and construction details still need to come from the actual design. Don’t infer them from a photograph of a similar tray.
If two pieces differ, give them distinct entries. A left part and a right part may look similar in a small drawing while requiring different details. The record should let you tell them apart before making them.
Work backward to the stock
Now compare the required pieces with the material available to purchase or already in the shop. Record the actual stock dimensions and the material specification the design requires.
The layout needs room for the process used to separate and prepare the parts, as well as any grain or face orientation the design calls for. Five rectangles fitting edge to edge on a drawing doesn’t establish a workable cutting layout. Resolve the layout with the relevant tooling and material instructions before turning it into a purchase quantity.
Keep required finished dimensions distinct from any preparation allowance. Label an allowance as an allowance, and explain its purpose. Otherwise, it can become unclear whether a number is the size you need to finish with or the size you intend to start from.
If using software, inspect what the report actually contains. Autodesk’s Fusion parts-list instructions describe a table populated from assembly components, with first-level and all-level structure options. A report based on the model needs the right components and scope to answer your question.
SketchUp’s woodworking guidance similarly describes pulling model information into cut lists and cost estimates. A generated report is a useful record to review; it doesn’t establish that supplies omitted from the model have somehow been counted.
Add the supplies outside the part count

Make a separate purchase check for the project’s specified consumables and any hardware. Depending on the design, that might include an appropriate adhesive, finish, abrasive supplies, or fasteners. Use the actual project and product instructions to decide what belongs there.
For each item, record the required specification, what you already have, and what you need to obtain. “Glue” is less useful than the exact product the project calls for. “In the cabinet” is less useful than confirming that there is enough usable material there.
Keep quantities clear: pieces, boards, sheets, packs, and containers are different units. If hardware is sold in packs, record both the required count and the pack size. That prevents the shopping list from silently changing what the design needs.
Put the revision on both lists
A dimension change can affect the part count, the stock layout, or both. Update the cut list and purchase list when the drawing changes, and mark the revision they belong to.
Before buying, compare the list against the current design. Before starting the work, compare the physical material against the list. The Workshop build-log template provides a place to keep those revisions and the decisions behind them together.
A useful pair of lists should answer two questions without relying on memory: what parts belong in this version of the object, and what material and supplies are still needed to make them?
References
Autodesk and SketchUp documentation checked October 21, 2026. The tray is an original counting example, not a tested design or a construction plan. Stock photographs illustrate workshop materials and notes, not parts produced for this example.