
The edge you cut isn’t usually the line you’ll stitch. The strip of fabric between the cut edge and the stitching line is the seam allowance. Before cutting a sewing project, check whether the pattern already includes it and how wide it should be.
Adding an allowance twice changes the piece. Leaving it out when the pattern expects you to add it changes the piece too. Resolve that question before working with the fabric you want to keep.
Find the instruction for this pattern
Look at the pattern instructions, the individual piece, and any notes for the seam you’re about to sew. Identify the cutting line for your chosen size, then find the stated allowance. Don’t assume that every printed line marks a different seam.
For a specific example, the general directions for Simplicity S3074 give a 5/8-inch seam allowance unless otherwise indicated and tell the reader to stitch that distance unless a step says otherwise. The directions also note that the allowance isn’t printed on multi-size patterns.
That is an instruction for that pattern, not a number to apply to everything you sew. Brother’s piecing straight-stitch guidance uses a 1/4-inch allowance for the piecing described there. The project and method determine the instruction to follow.
What does the allowance change?
Imagine a flat rectangular piece with two parallel stitching lines eight inches apart. If the cutting edge sits half an inch beyond each of those lines, the cut width is nine inches: eight inches plus two half-inch allowances.
That is a simple geometry example, not a pattern for a finished bag or garment. Folds, hems, curved seams, and other construction details need their own instructions. Its purpose is to show why cut size and the distance between stitching lines aren’t interchangeable measurements.
On a supplied pattern, check what has already been included before doing any arithmetic. A clearly marked cutting line may already place the extra fabric where the designer intended it.
Make the next check on a scrap
Before sewing the project pieces, check the intended distance between the needle’s stitching line and the fabric edge using the setup described in your machine manual. Don’t assume the edge of every presser foot represents the same allowance.
Use a scrap to check the resulting line, then measure it. Keep the needle position and guide arrangement with the note if you’ll need to repeat the setup. The sample checks that setup on that scrap; it doesn’t establish the finished project’s fit.
Before cutting, you should be able to answer three questions:
- Which line is the cutting line for this size?
- Is the seam allowance included, or must it be added?
- Does this seam use the general allowance or a stated exception?
Keep those answers with the pattern version you’re using. They’re small details that become much harder to recover once a stack of similar fabric pieces is on the bench.
Sources and photographs
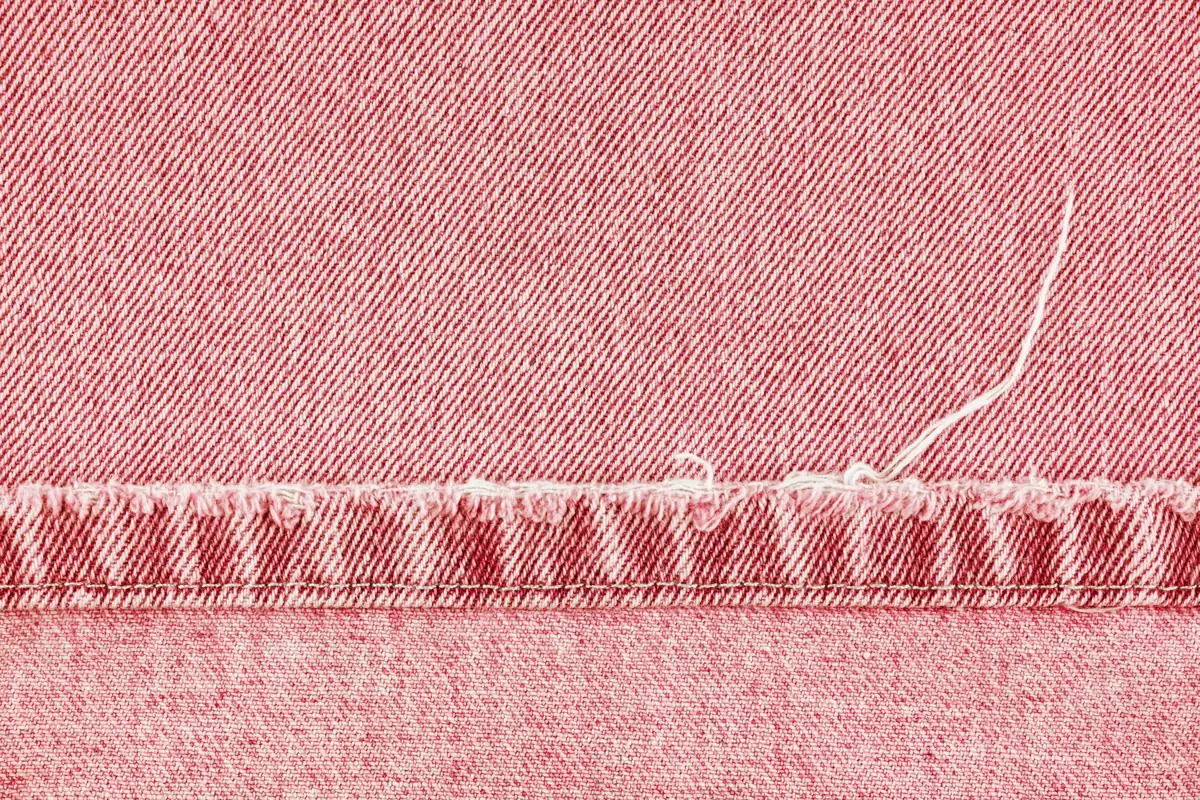
Simplicity and Brother references checked October 22, 2026. The dimensions example is illustrative arithmetic, not a Replicate sewing test. Licensed stock photographs show scissors on fabric and a denim seam detail; they don’t establish the seam width or demonstrate the named pattern. No pattern artwork is reproduced here.
Found an error or an outdated detail? Send a correction for this article.