
Build video companion. The build summary follows the published Replicate Workshop video description. The original model and recommended settings were checked on Engineezy’s model page October 22, 2026. Creator recommendations are distinguished from the setup reported in the video.
We’re assembling a 3D-printed mechanical 7-segment display that counts from 0 to 9 using racks, gears, cams, pinions, and moving number segments.
This build starts as a box of printed parts. We sort the pieces, remove supports, follow the model creator’s assembly instructions, correct several orientation problems, and test whether the finished counter actually works. Special thanks to Paxton for guest-hosting this build.
Video published: January 31, 2026, on Replicate Workshop. This companion follows the published video description and links to the original model creator.
Watch We Built a 3D-Printed Counter That Actually Works on YouTube.
Project record
- Original design
- The Rack Driven 7 Segment Display by Engineezy. The creator sells digital STL files, not a printed kit. Use the creator’s current files, assembly instructions, and terms.
- Printer reported in the video description
- Bambu Lab X1C.
- Filament reported in the video description
- Polymaker PolyTerra PLA in Charcoal Black and Cotton White Matte.
- Creator’s recommended settings
- Engineezy’s model page lists a 0.2 mm layer height, 0.4 mm nozzle, 15 to 18% infill, and about 190 g of material. These are the creator’s recommendations, not a recovered record of our slicer settings. Source checked October 22, 2026.
- Outcome reported in the video
- The finished mechanism counted from 0 through 9 after orientation and alignment fixes.
What gave us trouble
Several pieces look nearly identical, but the direction of the teeth and tabs matters. The small retaining clips were easy to lose and difficult to install by hand. The differently shaped cams needed to stay in the correct sequence, and one segment needed an alignment correction before it moved properly.
We would sort and label every group before starting, especially the cams and retaining clips. We would also pause the assembly instructions more often instead of trying to keep pace while handling small parts. Stop when something feels forced and recheck its orientation.
Jump to a build stage
Transparency: We purchased the model ourselves. This video is not sponsored, and we did not design the original files. Print quality, tolerances, support removal, and assembly fit may vary with your printer, filament, slicer settings, and calibration.
For your next project, use the editable Workshop build log to keep the file version, actual settings, changes, costs, and results together.
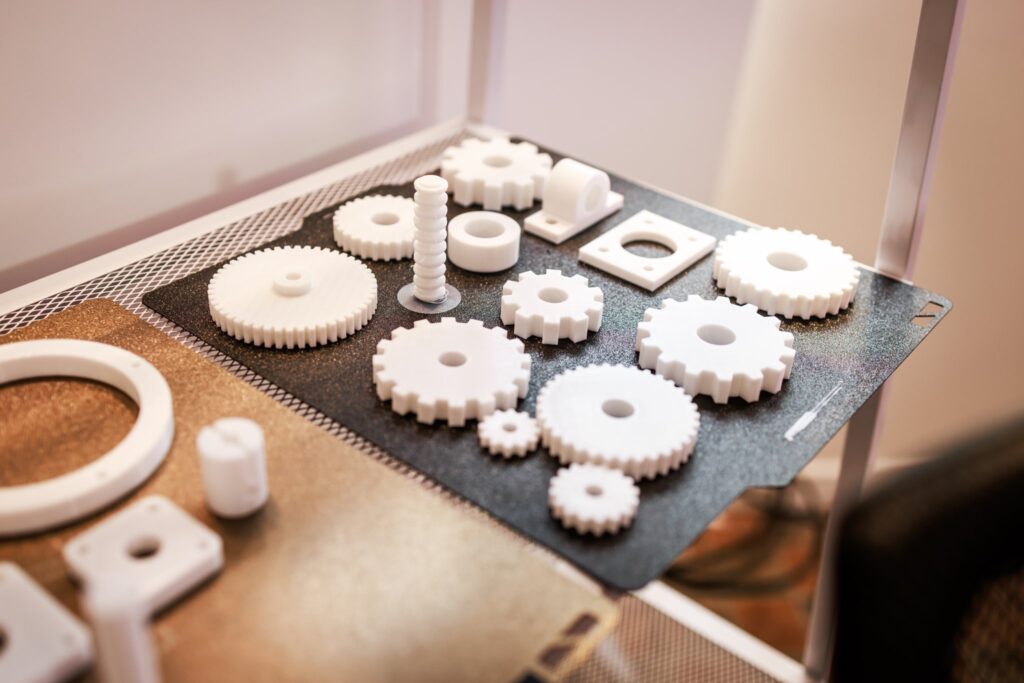
Featured photo: chuemoonrin / Envato Elements, illustrative stock photography of 3D-printed gears. See the video for our actual counter build.
Found an error or an outdated detail? Send a correction for this article.