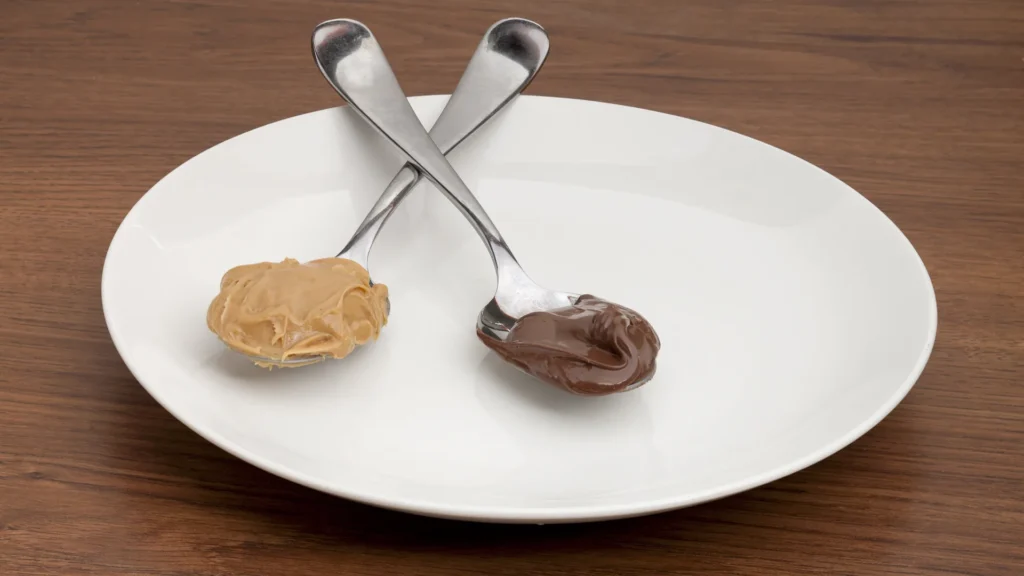

A useful side-by-side taste test starts with one question: what are you comparing? To compare a cooking choice, change that choice and keep ingredients, serving conditions, and portions as consistent as practical. To compare finished products, record your preferences without assuming the tasting explains what caused the difference.
Name the question narrowly
‘Which foam tastes better?’ allows a preference comparison. ‘Does colder liquid cause this foam to last longer?’ asks about cause. The second question requires a more controlled process. If the two foams also use different brands, different mixing equipment, and different amounts of sugar, the result cannot isolate liquid temperature.
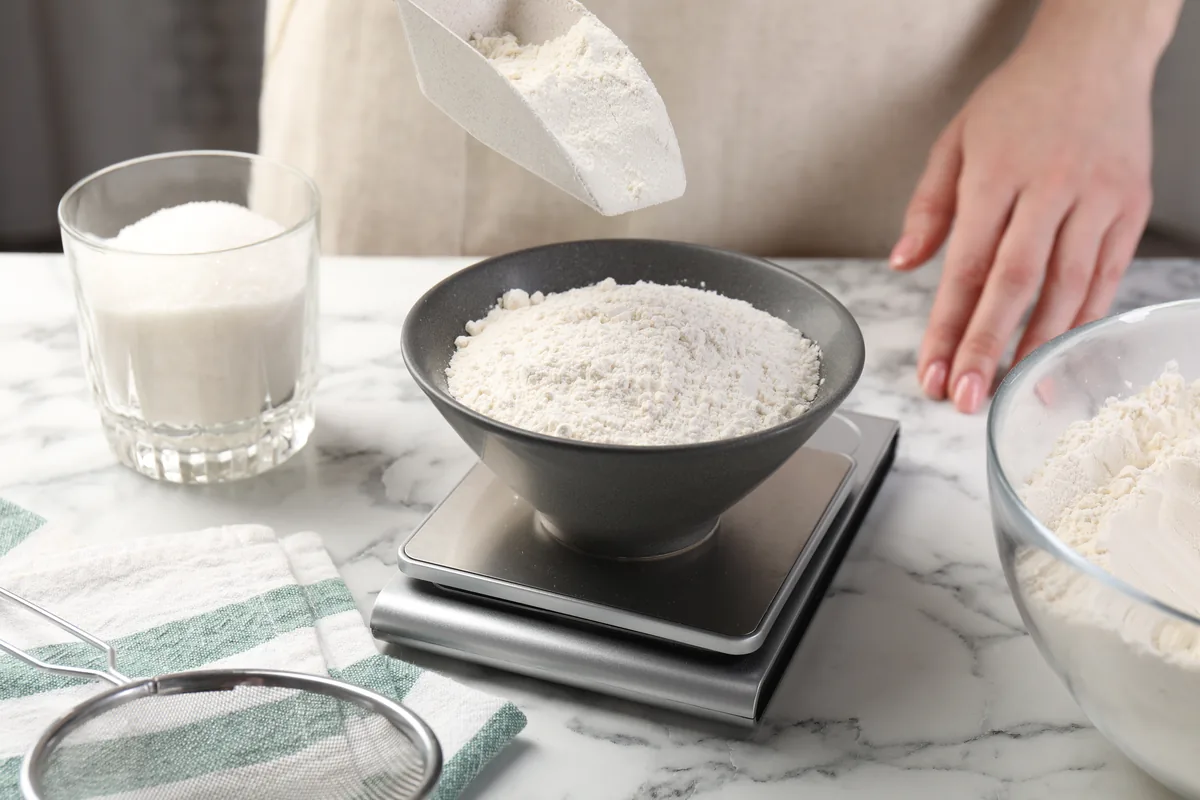
Start with a source method. Write down each batch’s ingredients and weights, timing, equipment, temperature, and any departures from the procedure. Match serving temperature and sample size when those conditions matter. Keep allergen precautions and food-safe handling intact during the comparison.
Keep a consistent comparison within safe handling practices. FoodSafety.gov’s four steps cover handling basics; USDA’s thermometer guidance explains checking food temperature. Neither source turns a home tasting into a scientific study.
Record observations before editing the story
Useful notes include visual appearance, smell, texture, mouthfeel, stability, and an attributed personal preference. Measurements such as mass, time, or temperature can support narrower claims, but they do not turn taste into an objective universal score. A single person’s preference is still a preference.
When possible, give samples neutral labels so the comparison doesn’t rest entirely on expectations about the source or brand. Keep the identity key separately until observations are recorded. That step reduces some obvious bias without pretending to make the trial a scientific study.
What makes a useful published result
Readers should be able to see what changed, what remained the same, and what was not controlled. If both versions were enjoyable, say so. If the test was inconclusive, describe which variables need another trial. A useful comparison shows the method and acknowledges its limits, even when there is no clear winner.
A home taste-test checklist
- Write the question before preparing samples.
- Record the ingredient or method that will change.
- Match portion size, cooking conditions, and serving temperature where practical.
- Use neutral labels and keep the identity key aside until notes are complete.
- Write separate notes for aroma, flavor, and texture before choosing a favorite.
- Repeat with a fresh batch before treating a small difference as dependable.
Ask each taster to record notes before discussing them. A second round in reverse order can help reveal an order effect. Neither step turns a small home tasting into a representative consumer study.
Sources
Related guides
Found an error or an outdated detail? Send a correction for this article.