
When you record which sandpaper you used, keep the whole grit label. P400 and CAMI 400 aren’t the same grade. Dropping the prefix can make a reorder or a project note less precise than it looks.
Check the package or the backing before comparing sheets. Color, a coarse-looking photograph, or the word “fine” isn’t a substitute for the product’s own grade and application information.
What the P identifies
Norton’s explanation of P-graded abrasives identifies P-grading with the FEPA grain-grading system. Norton’s technical reference for coated abrasives, on printed pages 11 and 12, compares FEPA and CAMI grades.
The letter is part of the grade, rather than a decoration to leave out of the shopping list. If a listing doesn’t identify its grading system, ask the supplier instead of assuming that the same bare number makes it equivalent to a sheet you already have.
A numerical example
Norton’s comparison chart lists these average particle sizes:
| Grade in the chart | Listed average particle size |
|---|---|
| FEPA P400 | 35.0 microns |
| CAMI 400 | 23.6 microns |
That’s a manufacturer-reference example showing why the shared number isn’t enough. It isn’t a finish test by Replicate Workshop, and it doesn’t establish that two different abrasive products will leave identical surfaces whenever a chart puts them near each other.
Use the relevant manufacturer’s grade comparison when you need one. Preserve its qualifications instead of turning an approximate comparison into a claim of exact interchangeability.
Choose for the job as well as the grade
The grit label is one part of choosing an abrasive. Keep the product line, abrasive type, backing, intended material, and permitted wet or dry use in view too. Check the instructions for the abrasive, the tool if one is involved, and any finish you’re preparing to apply.
A grade chart won’t choose the sanding sequence for every wood, coating, or project. It also won’t tell you when a surface is ready for the particular finish you bought. Use that finish’s preparation instructions and assess a suitable sample of your actual material before committing to the visible piece.
Keep the sample and its notes if you want to repeat the result. Record the sequence actually used, not just the last grade in the packet. If you change the abrasive product during a later attempt, mark that as a change rather than silently treating the replacement as the same material.
A better shopping note
Instead of “400 paper,” keep:
- Manufacturer and product line.
- Complete grit label and grading system, if identified.
- Sheet or disc format, dimensions, and attachment details where relevant.
- Abrasive type, backing, and intended application.
- The material and finish preparation for which you selected it.
A photograph of the package can hold details that are awkward to copy by hand. Put that image with the workshop build log so the successful sample and the product used for it stay connected.
Sources and photographs
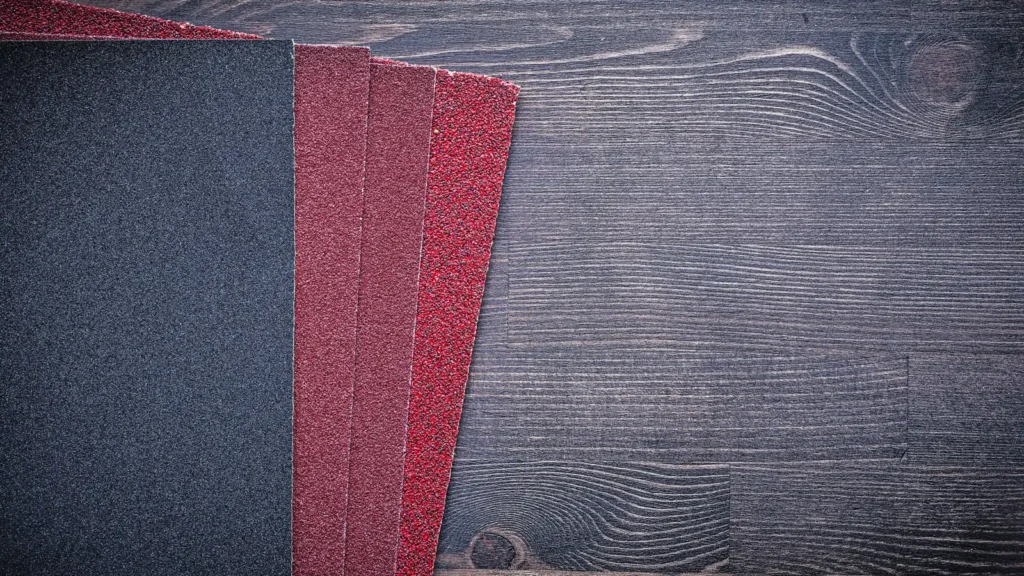
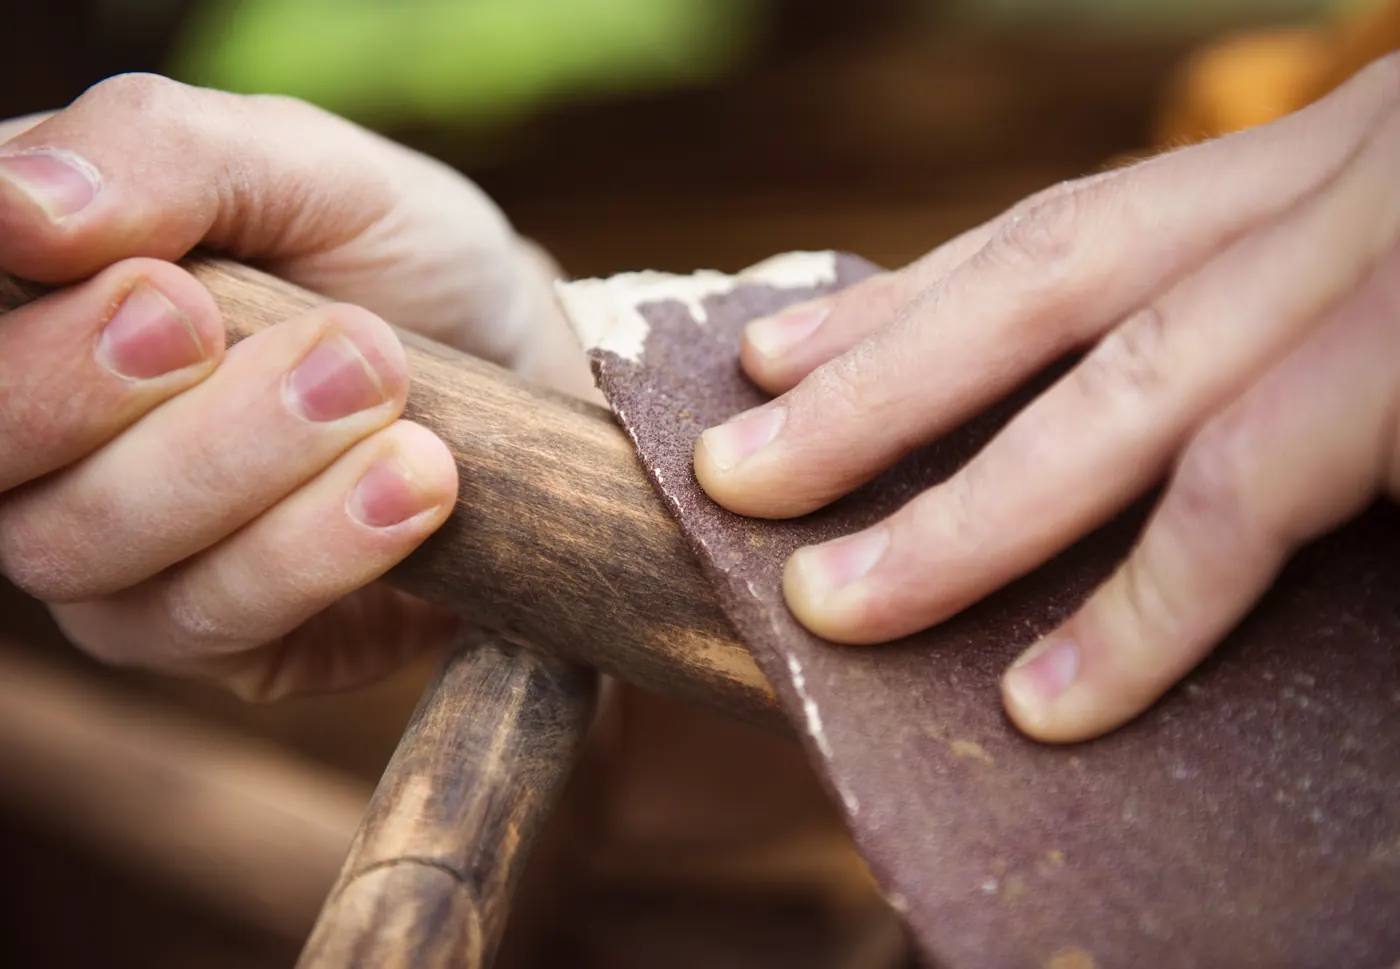
Norton manufacturer references checked October 22, 2026. This is a label-reading and recordkeeping guide, not a sanding-performance comparison or a universal finishing sequence. Licensed stock photographs illustrate sandpaper sheets and hand sanding; their exact grades aren’t identified here.
Found an error or an outdated detail? Send a correction for this article.