
A wood glue label can give you several useful times without giving you one universal “ready” time. The minutes available to assemble a joint are a different question from how long it stays in clamps or when it can take stress.
Before opening the bottle, find the instructions for that exact product. Write down what each time measures. A number copied without its label can send the next step in the wrong direction.
Read the assembly window first
Titebond Original’s product page lists an open assembly time of 4 to 6 minutes and a total assembly time of 10 to 15 minutes, both at 70°F and 50% relative humidity. Those figures describe assembly, not permission to remove the clamps or put the finished joint to work.
Keep the stated conditions beside the figures. “Ten minutes” on its own loses both the product and the circumstances behind the number. If your materials or environment fall outside the instructions, ask the manufacturer how to proceed rather than treating the published window as a stopwatch guarantee.
The product page also identifies limits: Titebond Original isn’t intended for exterior use, likely moisture exposure, or structural or load-bearing applications. A longer wait doesn’t change those product restrictions.
Separate unclamping from stressing the joint
Titebond’s wood glue FAQ recommends 30 minutes to an hour in clamps for an unstressed joint with most of its wood glues. It gives 24 hours in clamps for stressed joints and says not to stress a new joint for at least 24 hours.
That is the manufacturer’s scoped guidance, not a drying-time rule for every adhesive. Notice that the shorter clamp interval doesn’t replace the later instruction about stress. Moving to the next stage simply because a clamp can come off would combine two different decisions.
If you aren’t sure how the manufacturer classifies your joint or what the next operation would demand of it, resolve that before relying on the shorter interval. The useful answer is the instruction that fits the product and joint, not the fastest number on the page.
Make a short glue-up record
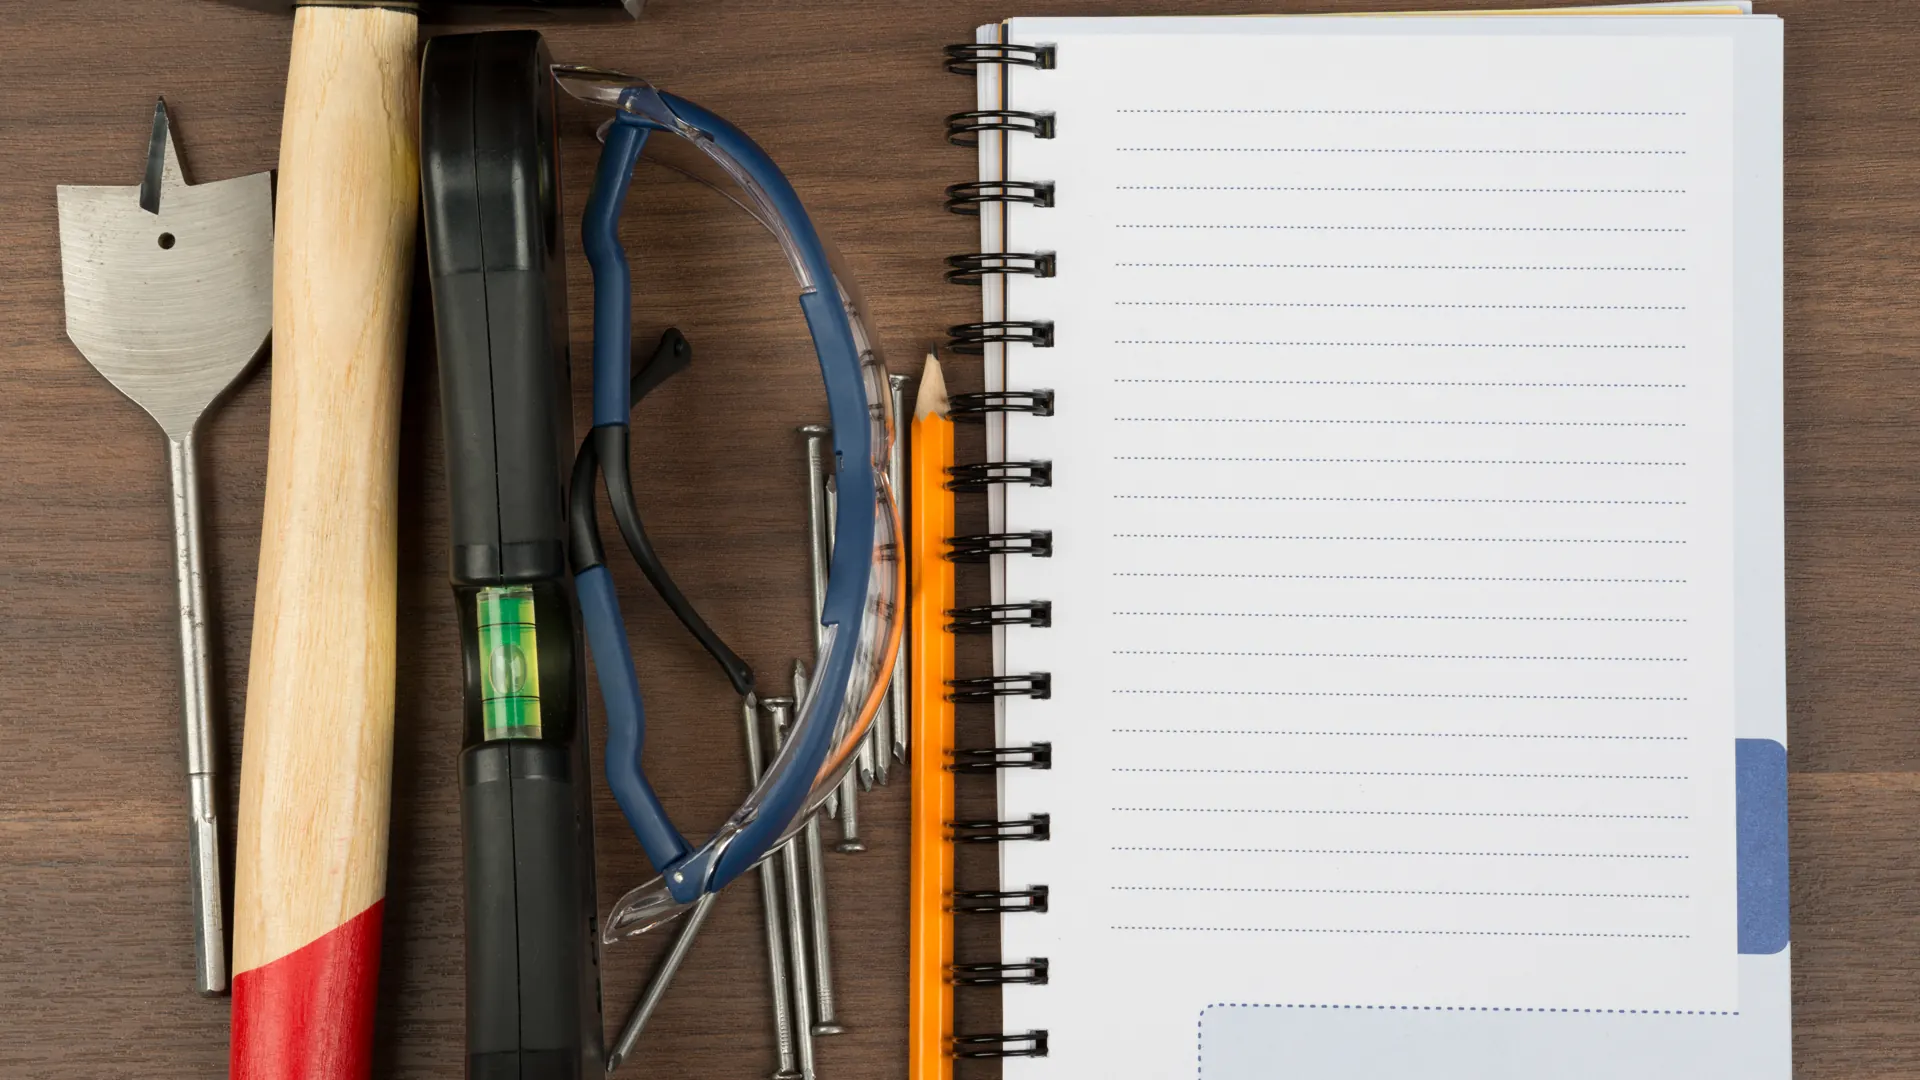
Add the following fields to a Workshop build log. Fill them from the current label or technical sheet before you start, then record what actually happened.
- Exact adhesive and product version:
- Materials and intended use:
- Assembly limits and stated conditions:
- Glue application start:
- Assembly and clamping completed:
- Required clamp interval for this joint:
- Earliest permitted next operation, with its source:
- Actual unclamping and next-operation times:
Keep the required times separate from the actual ones. A note that says “unclamped at 2 p.m.” records an action. It doesn’t establish that the joint met a performance requirement.
For a project with several assemblies, identify each one. Otherwise, a single time on the bench can leave you guessing which joint it belongs to. Put any unresolved question in the record as a question, and answer it before the affected step.
Sources and photographs
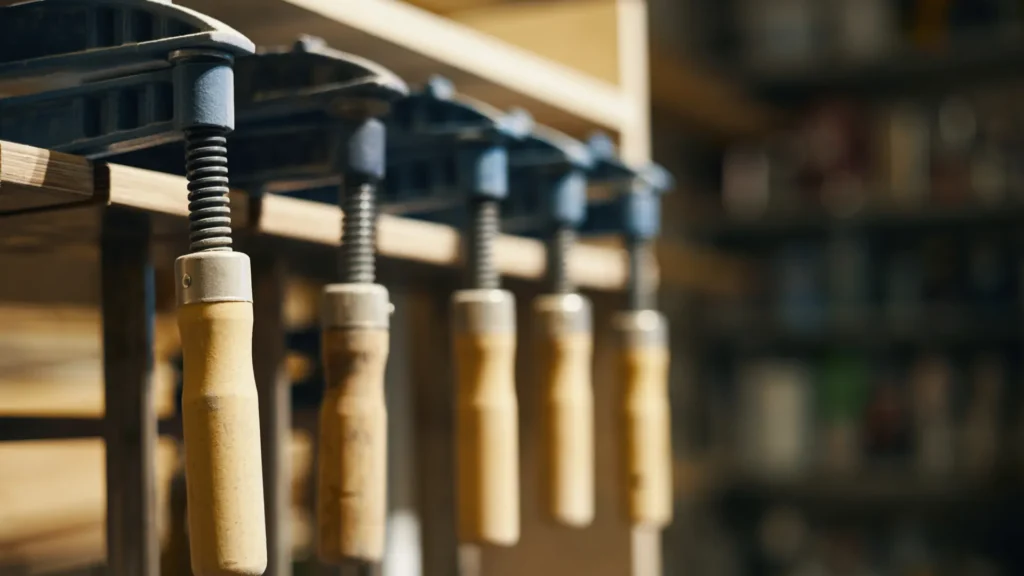
Titebond product and FAQ guidance checked October 22, 2026. This is a guide to reading and recording manufacturer instructions, not a Replicate glue test or a structural joint design. Licensed stock photographs illustrate workshop clamps and project notes; they don’t document the named adhesive or verify a joint’s condition.
Found an error or an outdated detail? Send a correction for this article.